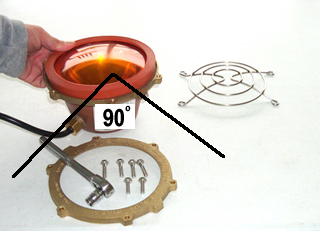
Hold the bottom flange back up to the bottom
side of the lip on the potted can. Notice where the mounting
holes are in relationship to the cord. It's a good idea to
have the mounting holes 90 degrees from the cord assembly,
so it doesn't interfere with any mounting hardware.
Place the top flange back onto the light so
that the wholes properly align and the mounting points
align. Using the two shorter bolts, place one of the bolts
in the hole which is 90 degrees from the mounting bolt hole.
Just place it in finger tight at this
point.
Using the other short bolt place it 180 degrees
(or the opposite side) of the previous bolt. Again just
finger tight at this point. This will hold the assembly
together while you replace the remaining
bolts.
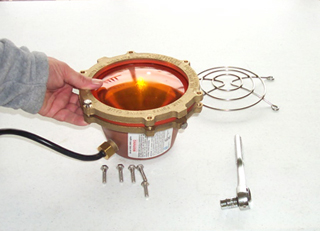
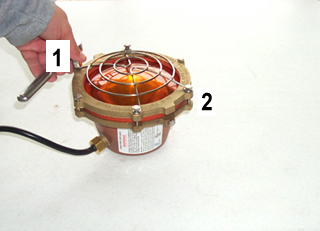
Place the rock guard on the light and using the four
longer bolts loosely return all four of the into the last
four holes. Sometimes the rock guard will put the last bolt
into a slight bind which will make it more difficult to
turn. You can use your wrench if you need to, but make sure
that you do not cross thread the bolt.
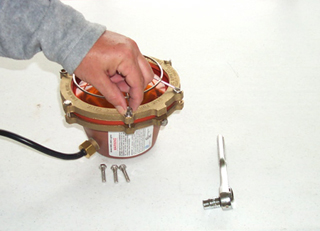
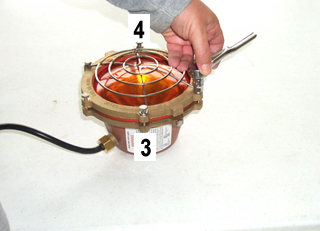
It is best to start working opposite sides when
tightening the bolts. Tighten the first bolt about half way.
Then move to the opposite side and tighten it about half
way.
Go completely around the light working opposite
sides until all of the bolts are about half tight. Once you
get back to the first bolt you started with, go ahead and
tighten it all the way.
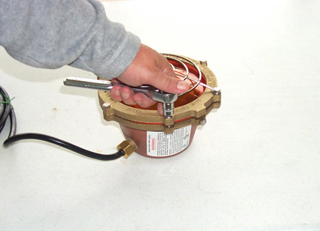
Continue tightening the bolts until they are all
tight. For the most part you can't over tighten the bolts.
When you are finished, the metal on the top and bottom
flanges should be almost touching. It is OK if the is a
slight gap between the top and bottom flange.
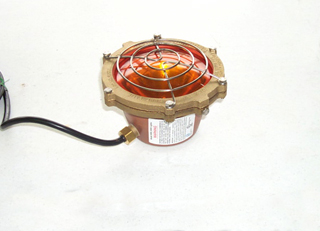
Your light is now ready to be put back into service.
CAUTION: ALL
ELECTRICAL circuits in a fountain must be protected by a
GFCI or have Ground Fault protection. This will turn the
power off in the event that you have a short
circuit.